Jason's Mustang Restoration Project - Radiator Revisited


This is a set of photos showing the install of the correct style radiator - finally!.

Click on any picture below to see a larger version.
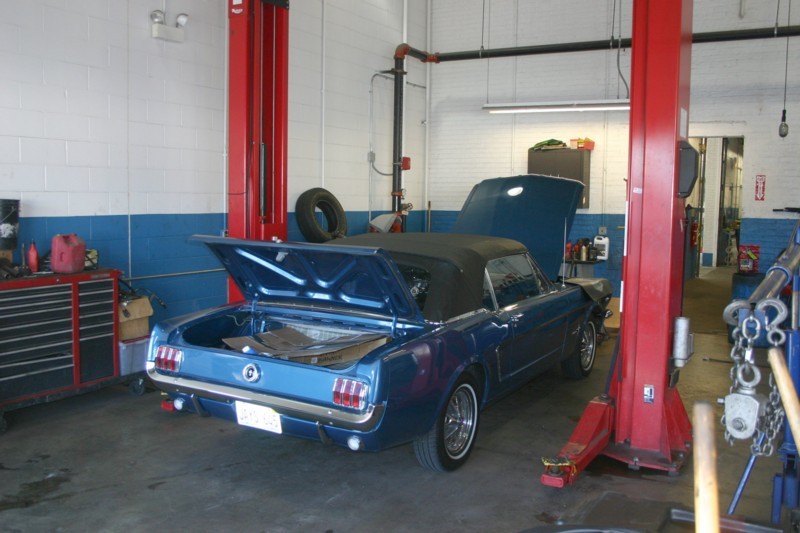
./images/IMG_5855.jpg

92.33 KB 
800 x 533 
10/21/2006

./images/IMG_5856.jpg

82.46 KB 
800 x 533 
10/21/2006

./images/IMG_5857.jpg

115.32 KB 
800 x 533 
10/21/2006

./images/IMG_5858.jpg

108.27 KB 
800 x 533 
10/21/2006

./images/IMG_5889.jpg

2,940.83 KB 
3072 x 2048 
11/5/2006

./images/IMG_5890.jpg

3,101.08 KB 
3072 x 2048 
11/5/2006

./images/IMG_5891.jpg

2,744.63 KB 
3072 x 2048 
11/5/2006

./images/IMG_5892.jpg

3,150.97 KB 
3072 x 2048 
11/5/2006

November 5, 2006

If you go way back to early 2002 (see page 16 on the index) you will
see the long tale of how I destroyed the first "correct" radiator I had
installed in the Mustang. That one went in with the engine when we first
got it running again, but met a quick death soon thereafter...

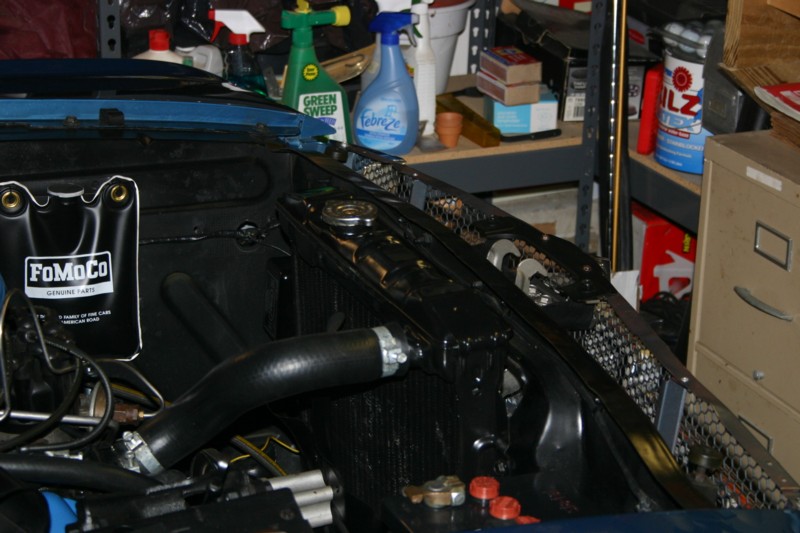
So I finally found another one that looks right - with the squared off
brackets on top instead of the round ones you see on all of the repros.

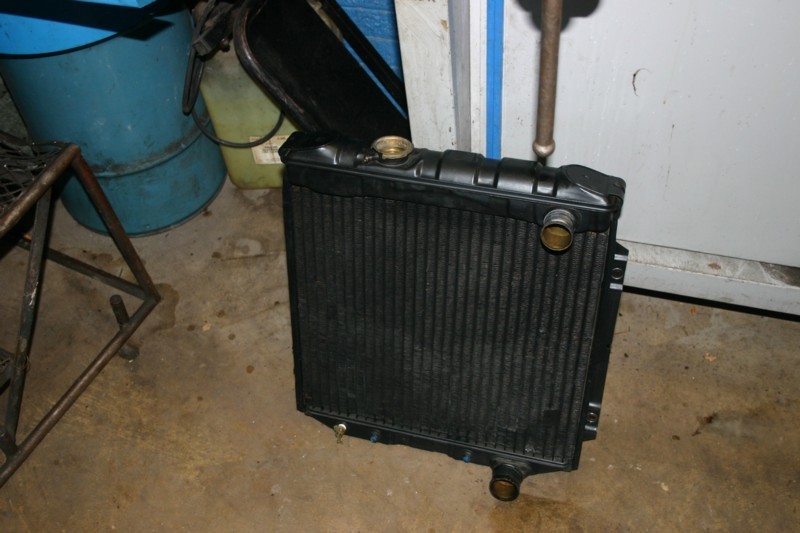
One thing I have learned since then is that it seems like San Jose cars
may have come with the rounded brackets originally anyways, and that is
the look that the repros all have.

But my original Dearborn radiator has these squared off brackets, so that
it what I was looking for all along.

Also, it seems that many local radiator shops are all telling me the same
thing: that the cores for these are not made new anymore - or are at least
very hard to come by.

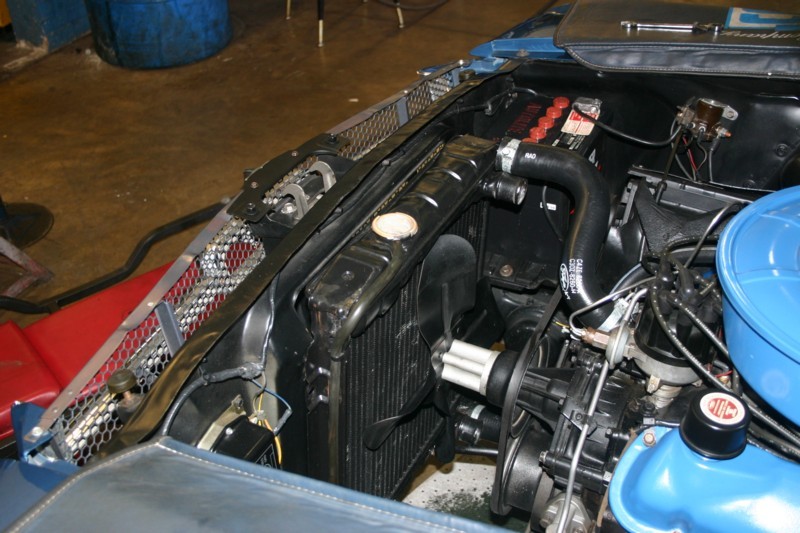
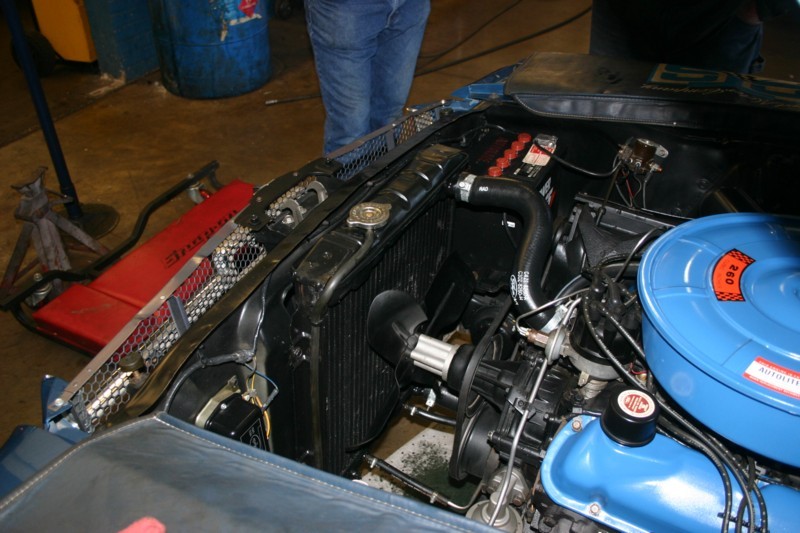
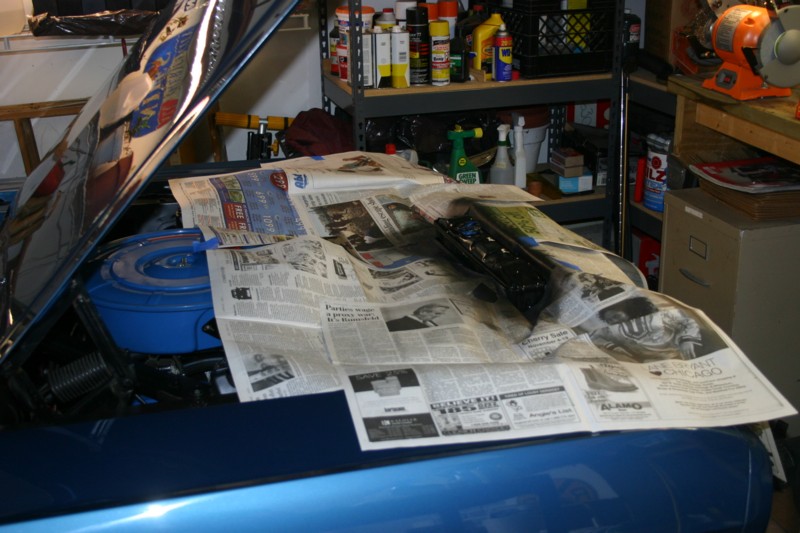
So I took my original white oversprayed radiator, and 3 others I had all with
various leaks and problems, and had a local place make me one from all of the
best parts!

It worked out great. I installed it at our club's fall tech meeting.

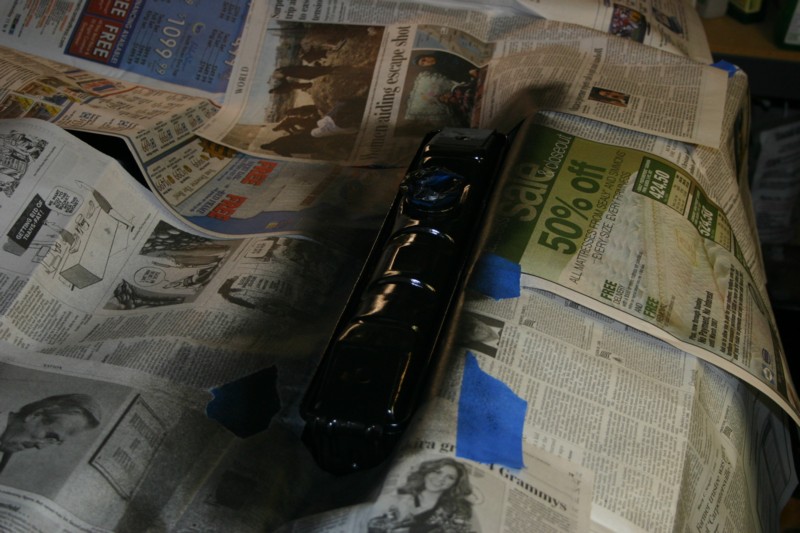
Once I got it home and looked at it a few times, I decided the top tank needed
a better coat of paint, so I masked it off and took care of it.

I think it turned out perfect!

-Zim

Click here to return to the index.