Jason's Mustang Restoration Project - Door Handles and Detailing
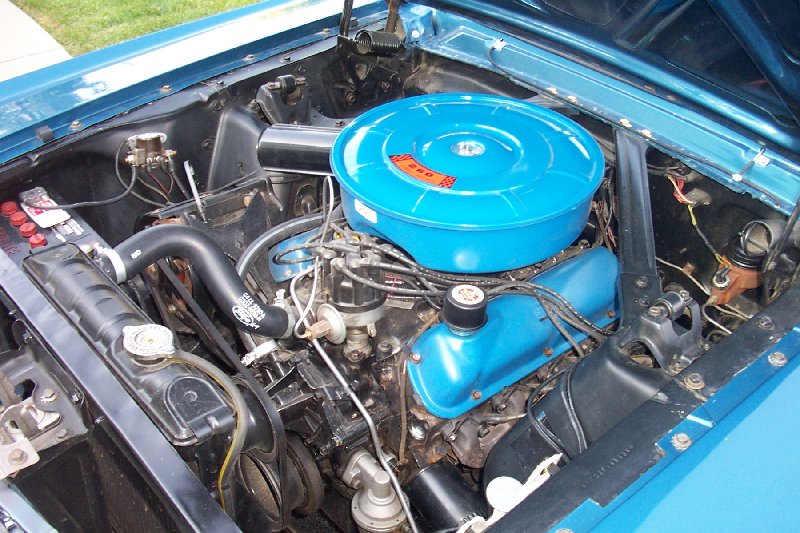
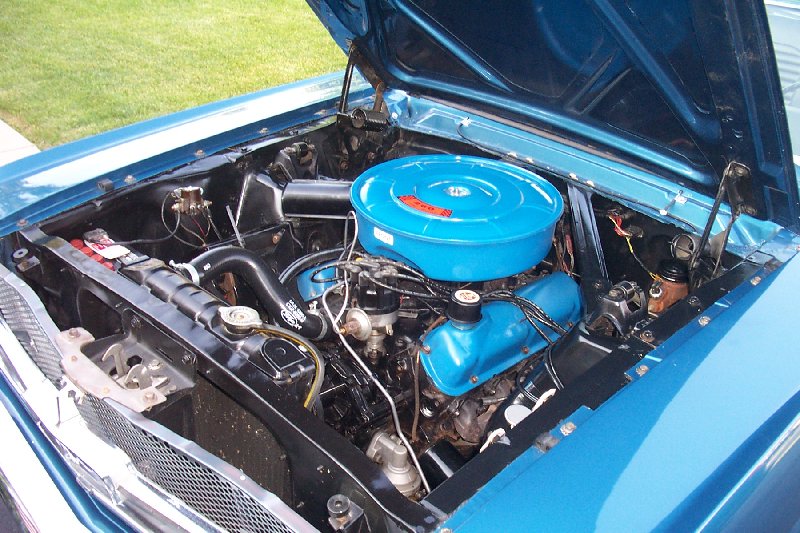
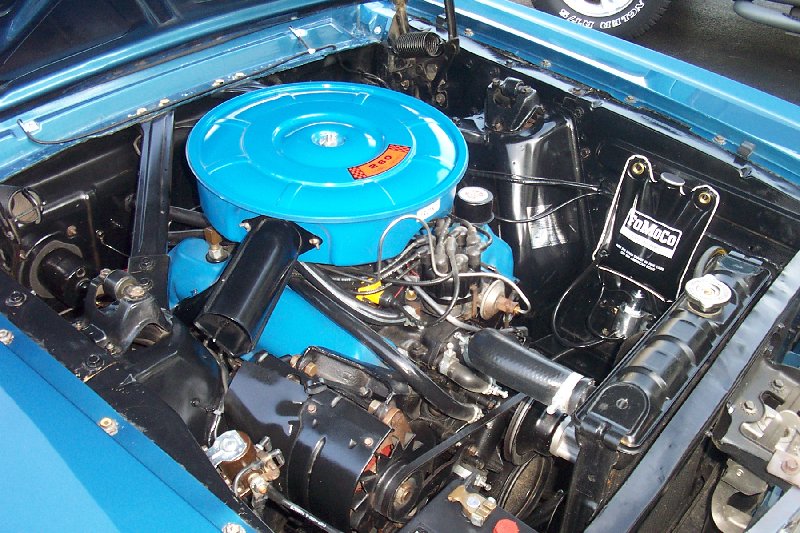
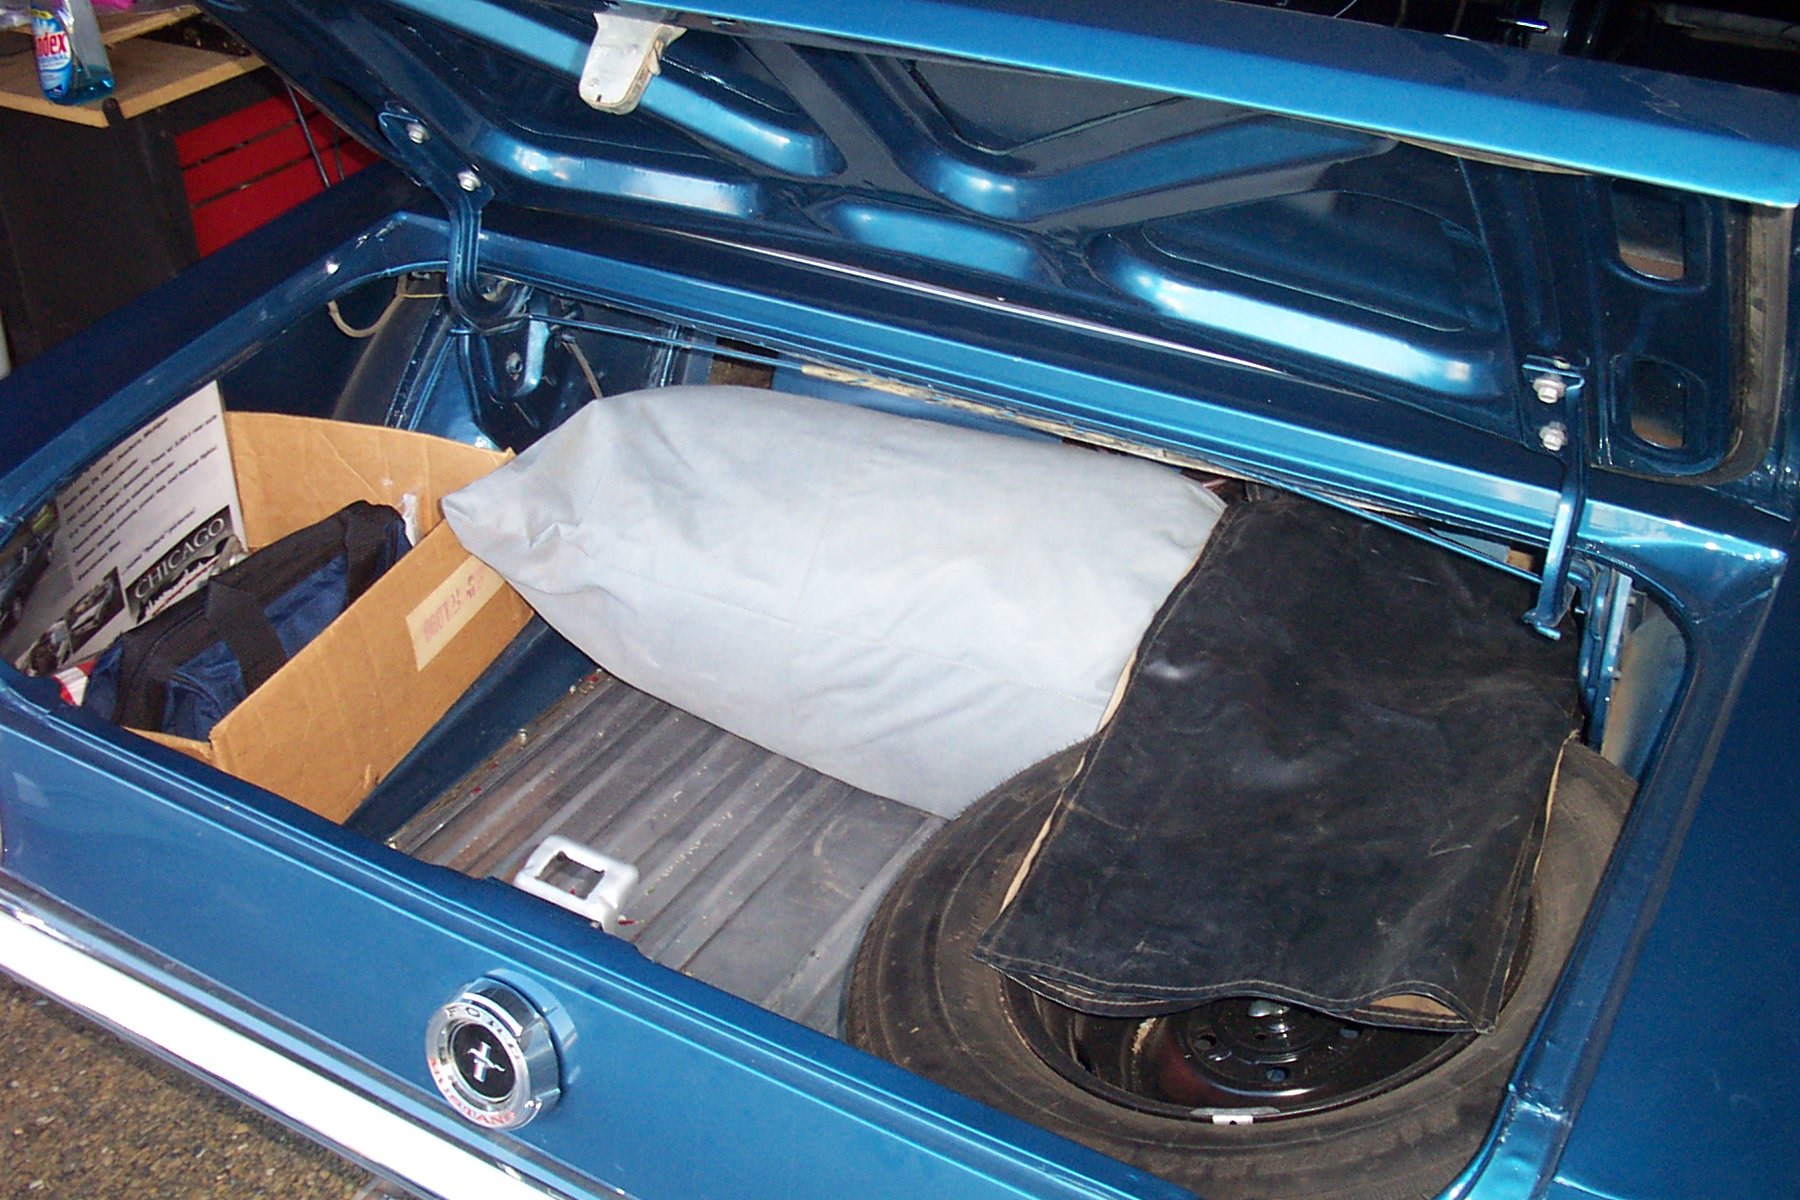
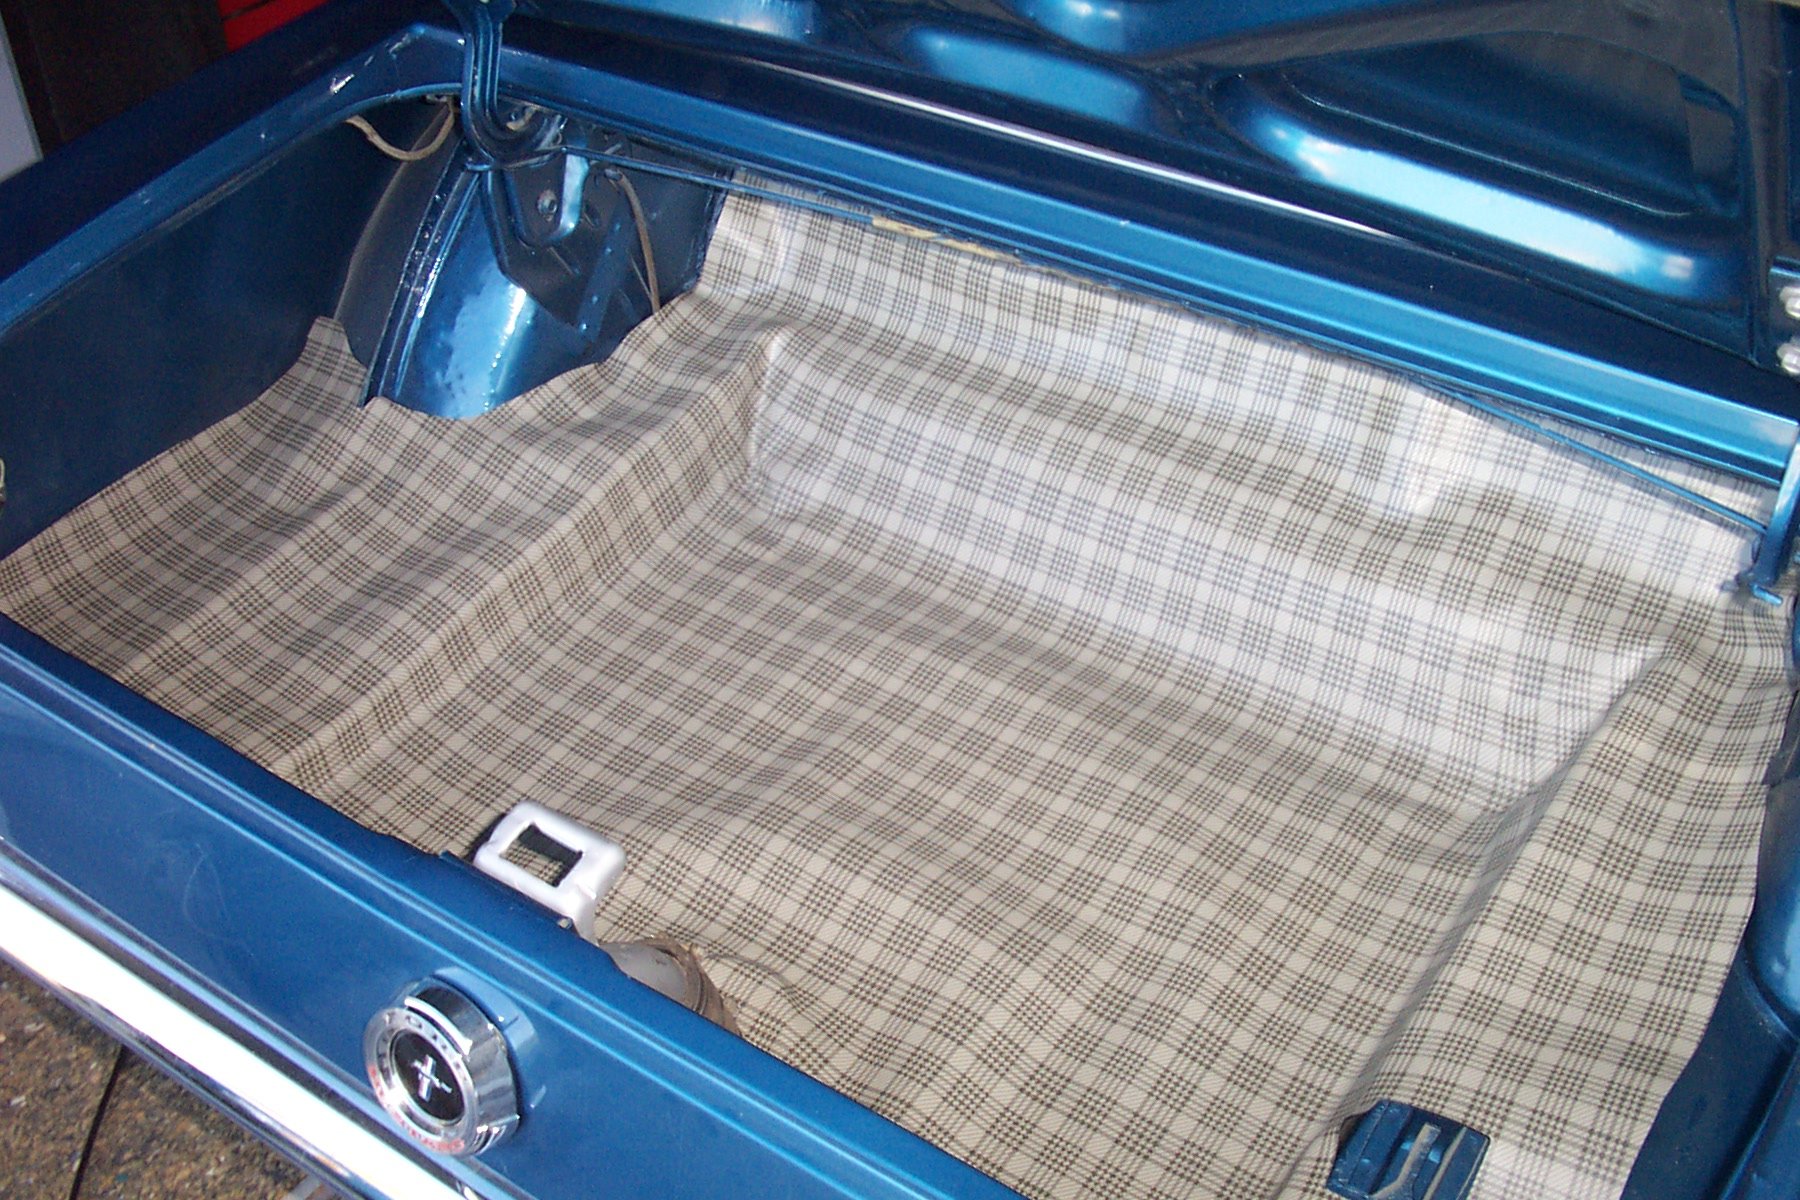
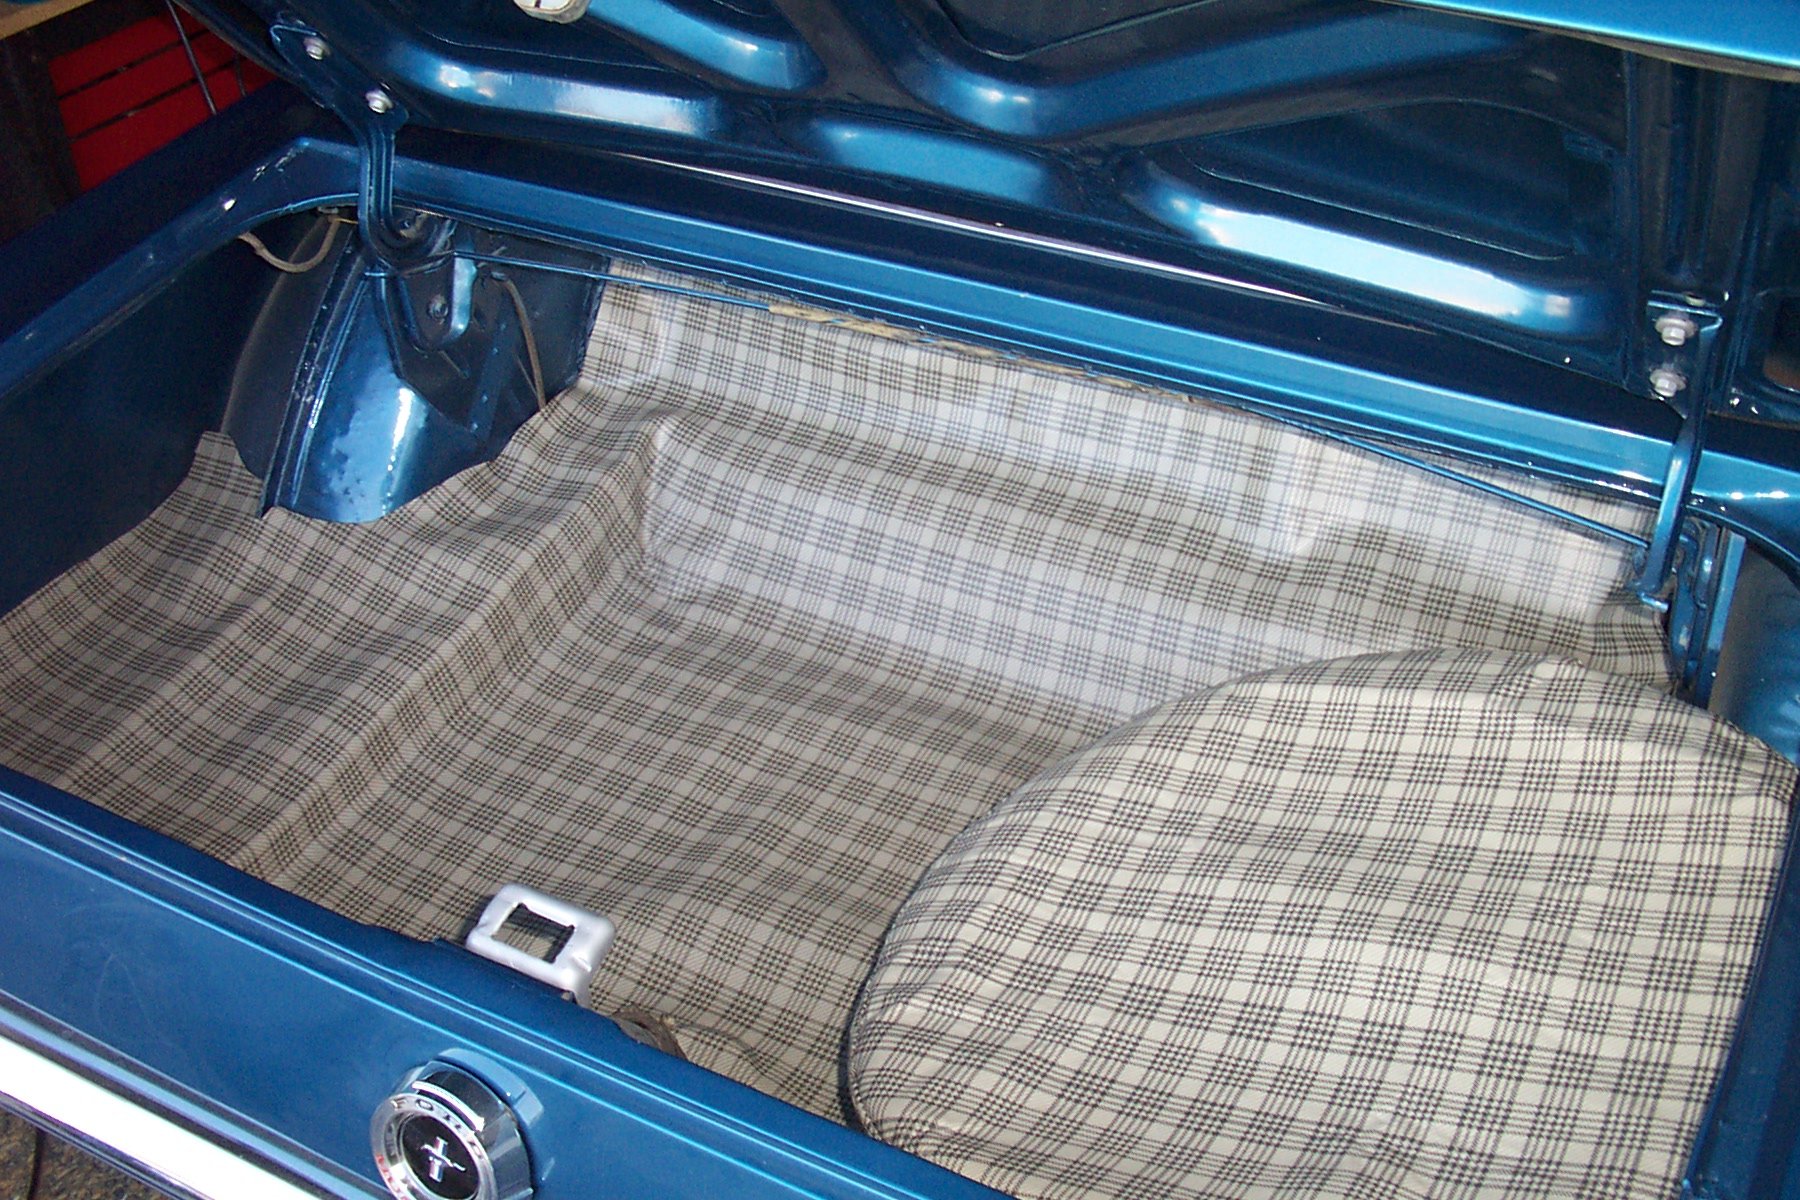
new shots of the engine after shining it up! Trunk mat is in now too.
Click on any picture below to see a larger version.
|
|
|
|
|
|
|
|
|
|
|
|
|

|

|
|
|
|
|
|
|
|
|
|
|
|
|

|
 | |||
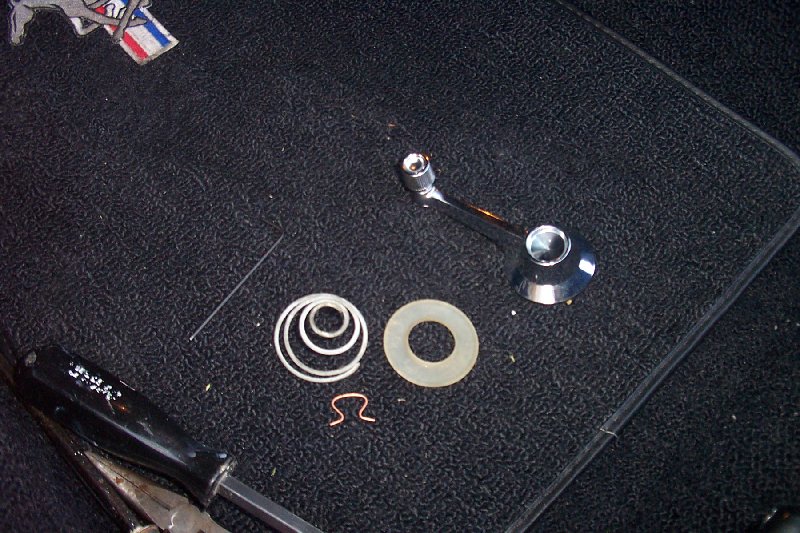
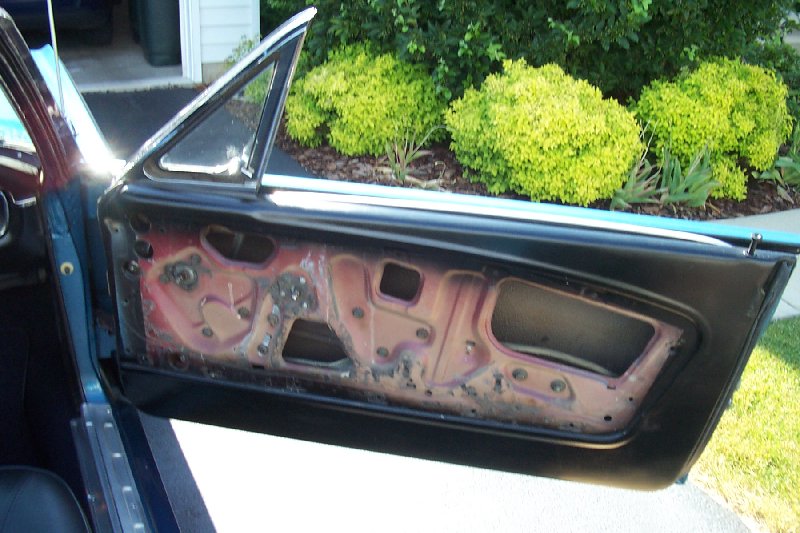
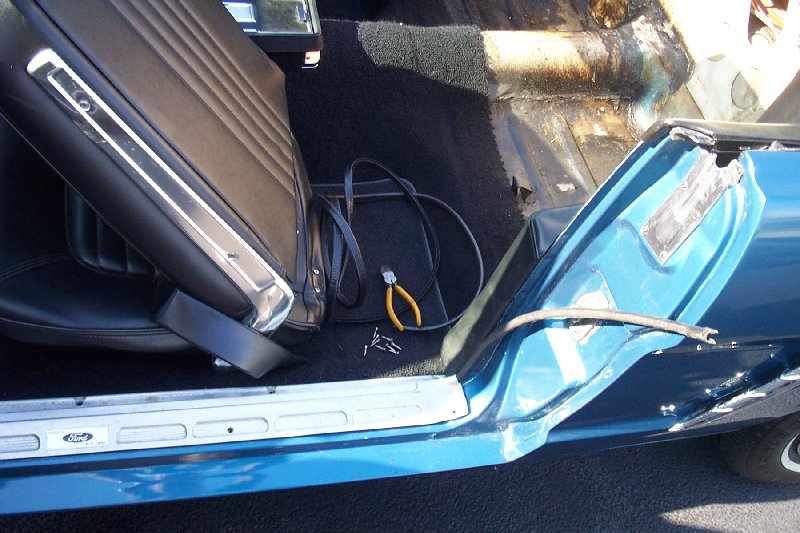
| June 4, 2005 I decided to finally put the doors back together today.
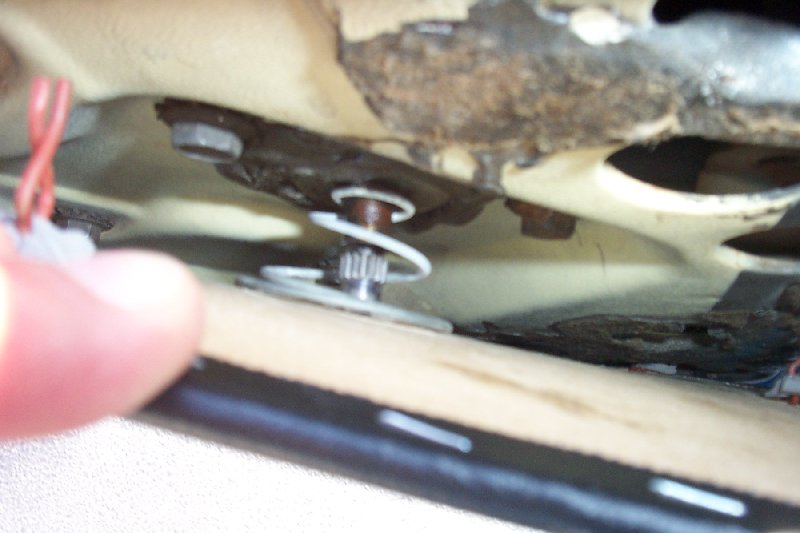
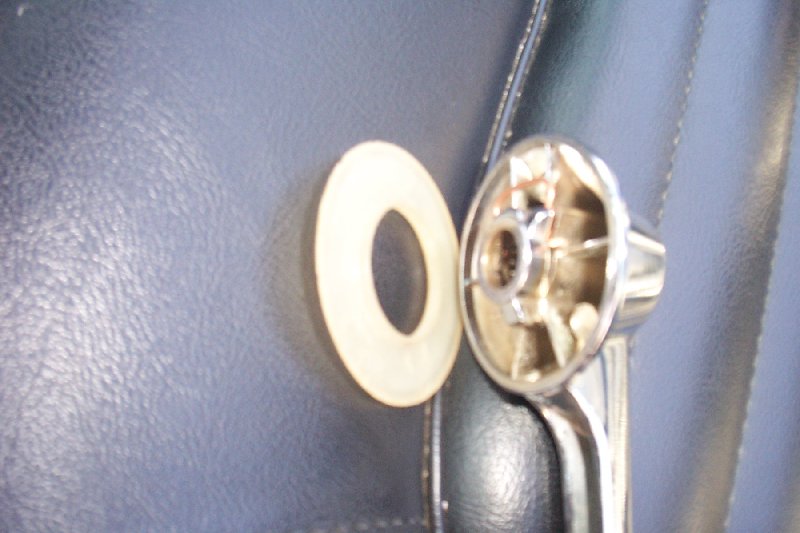
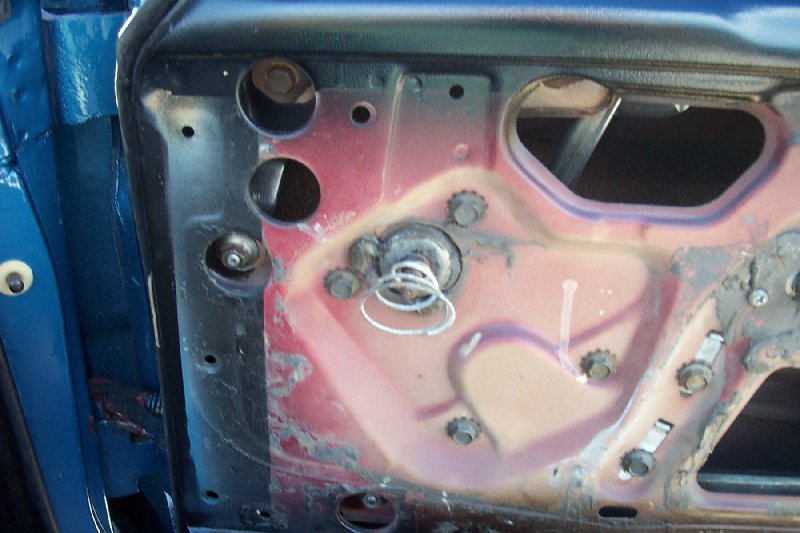
I still had all the old parts, such as the large plastic washers, the cone But I couldnt figure out what to do with the spring.
After reading a few posts on the VMF (some of which were wrong) I put
What is even more confusing is that even some of the part catalog places
The small end goes against the metal part of the door, and the large end
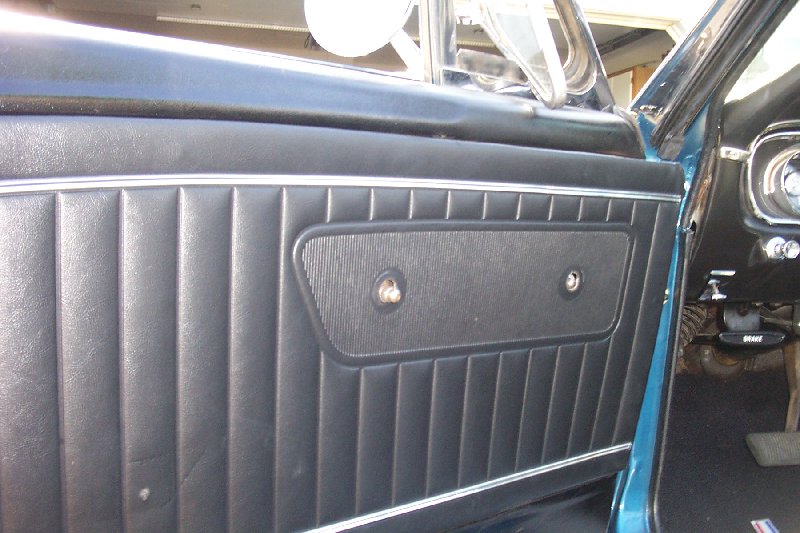
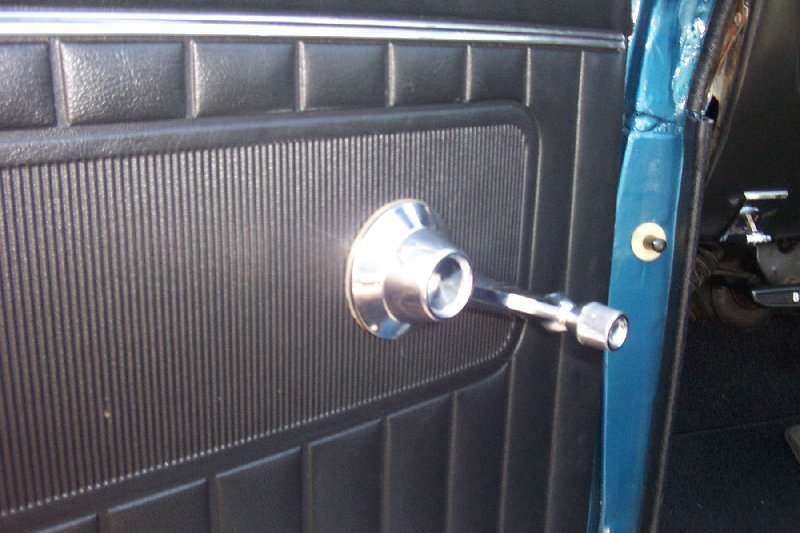
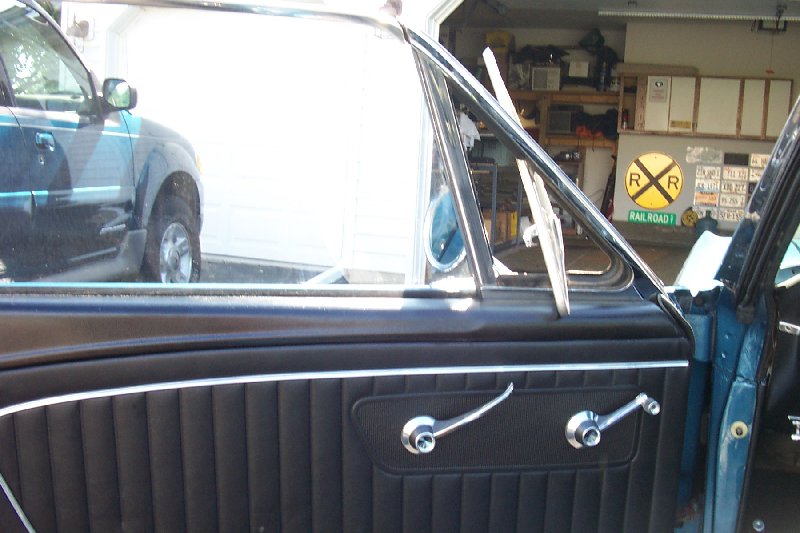
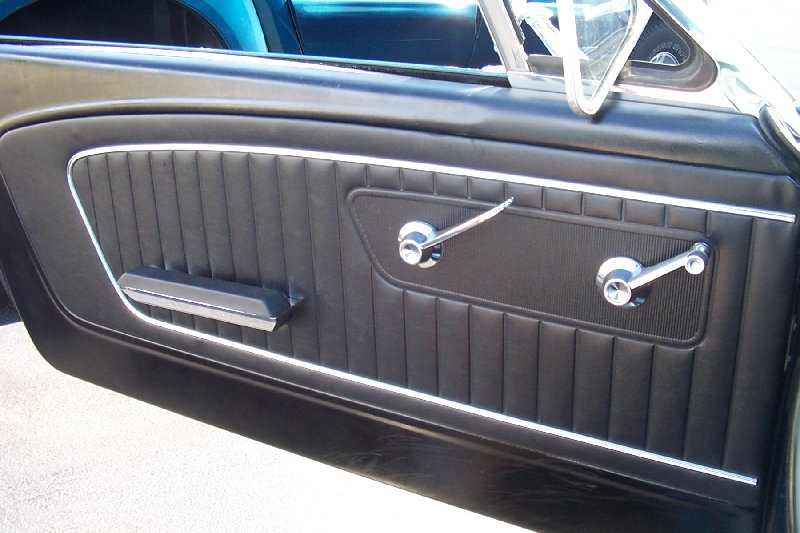
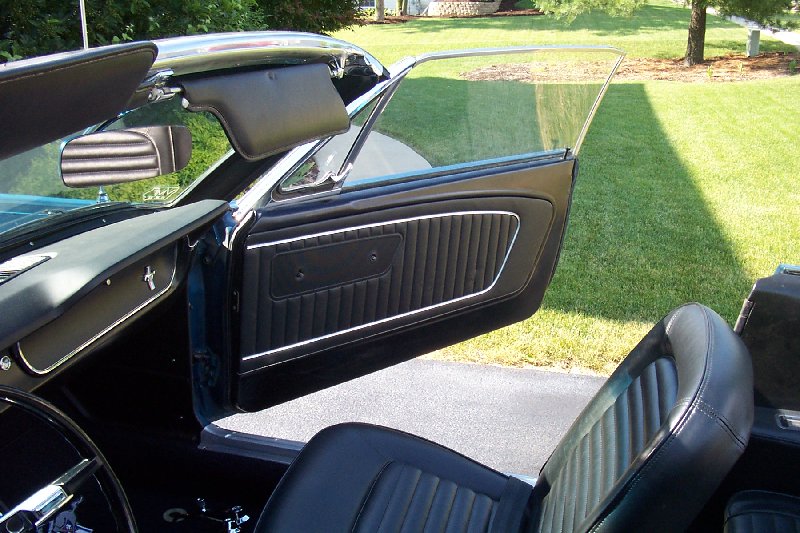
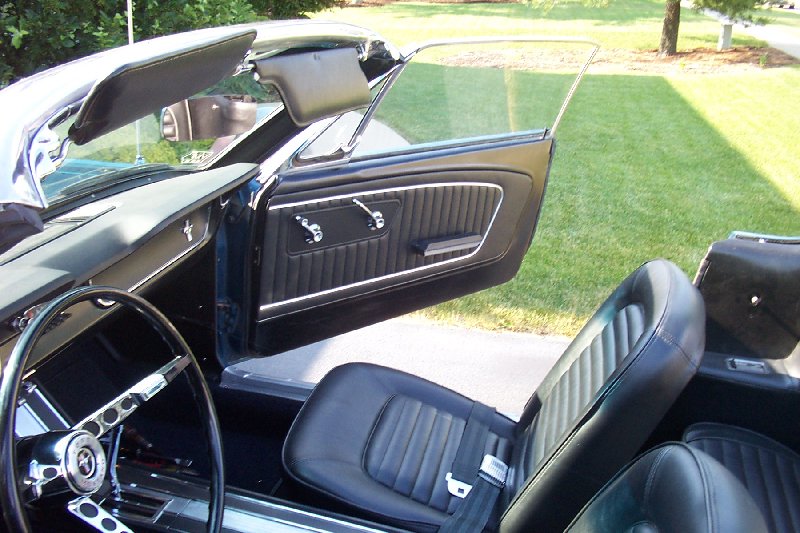
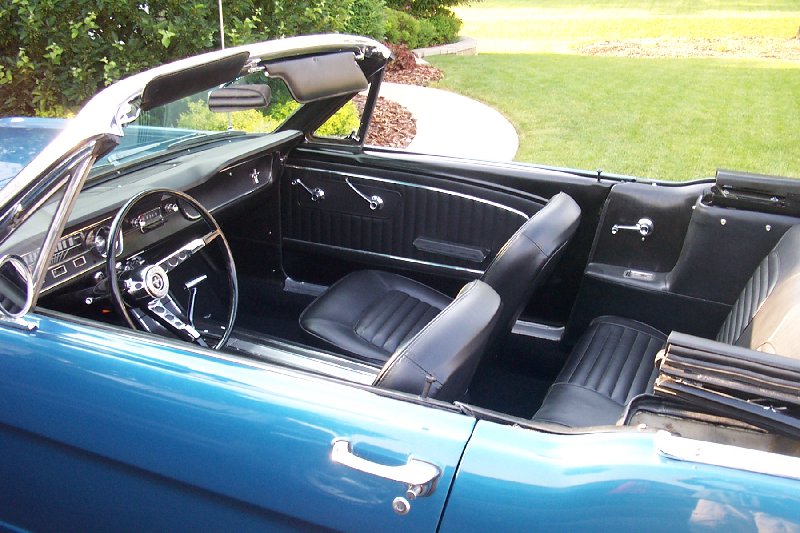
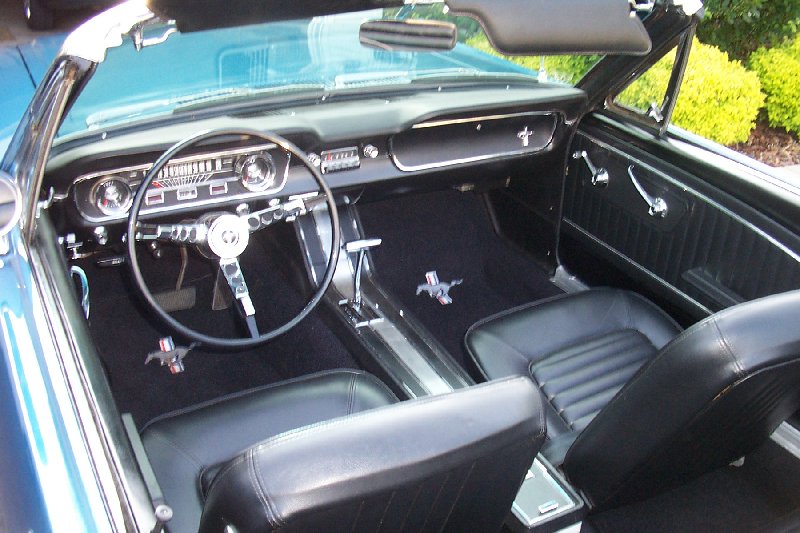
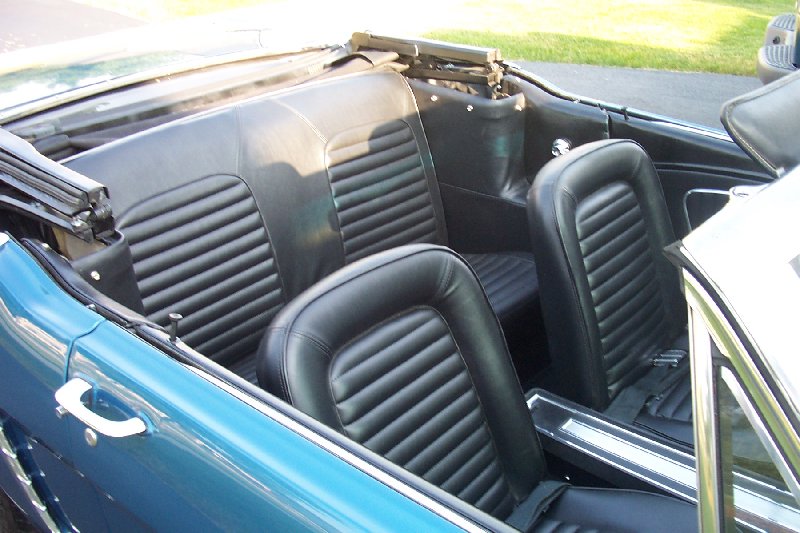
The angle of the latches handles and window cranks should be the same when I also put the rear cranks on, and the interior now looks fantastic!
I still need to buy a new boot (the old one looks kind of faded now that the
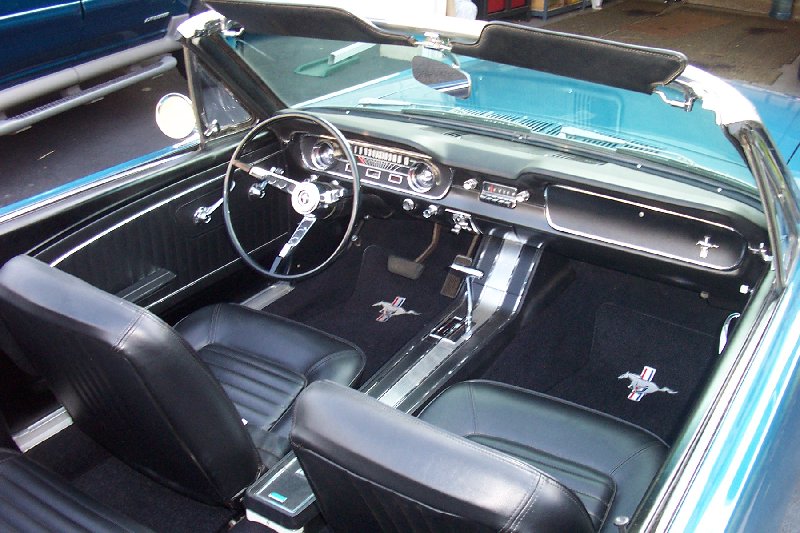
Once I was done with that, I tried out a can of "Trim Shine" made by Stoner
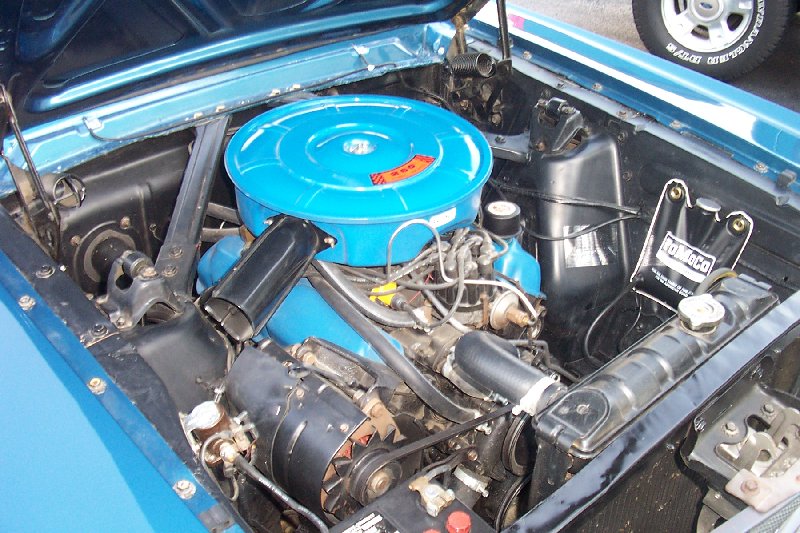
Note: there are some "before pics" of the engine, then a few of it with
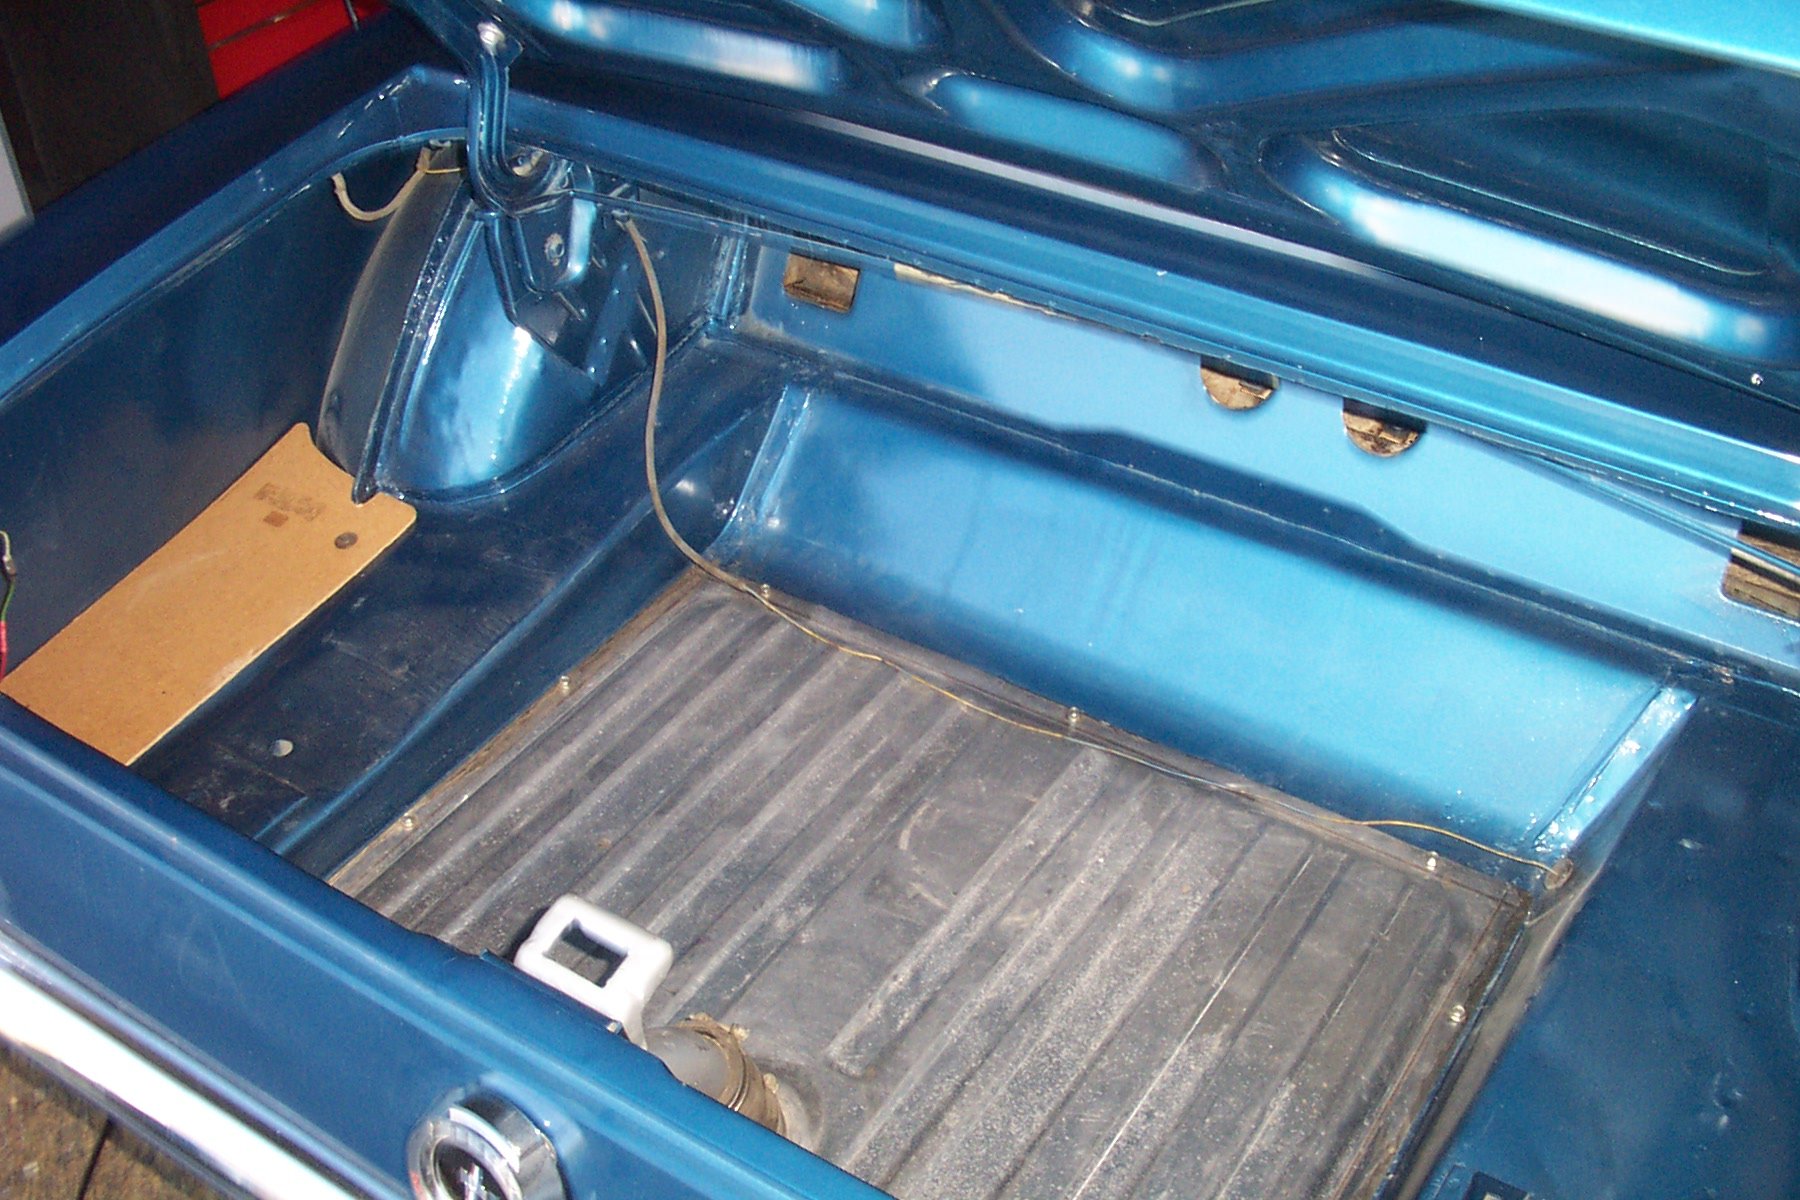
Finally, there are a few pics of the new trunk mat, and a good pic of the
|
|||
| |||